Part one is just some raindrops that hit the surface, but don't drip down, putting them into a separate Material Function.
I got a lot of inspiration for this from when Litha was working on her Conservatory Project and showed me these tutorials:
https://deepspacebanana.github.io/deepspacebanana.github.io/blog/shader/art/unreal%20engine/Rainy-Surface-Shader-Part-1
https://deepspacebanana.github.io/deepspacebanana.github.io/blog/shader/art/unreal%20engine/Rainy-Surface-Shader-Part-2
However after discussing it for a bit I decided to try and go procedural as much as possible and try to give a more natural effect.
My original prototype used UV Coordinates, but I then decided to move it into World Space Coordinates to save us some trouble with adjusting UVs for all the different props.
So I basically used the approach for triplanar mapping to get the necessary UVs.
 |
| Triplanar Mapping |
 |
| Triplanar Mapped UVs |
 |
| Remapped UVs |
 |
| Squares for Drops |
 |
| Centered Drops |
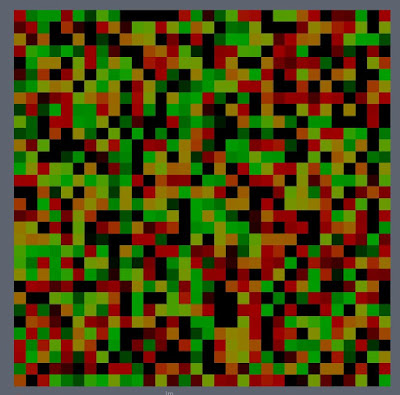
Obviously this doesn't really look anything like rain, yet. The drops need to appear and then fade out at different times, so somehow I need a random value in the range of 0 - 1 for each of the squares to offset time. I remembered a shader tutorial I watched a while back, where a hash function was used to generate those values taking the uv input and based on those putting out a value in the 0 - 1 range.
I ended up finding this Shadertoy Shader ( https://www.shadertoy.com/view/4djSRW ) by Dave_Hoskins, which demonstrated a range of hash functions. The one I needed was the hash12 function(1 output, 2 inputs ), so I recreated it in UE4 experimenting with different values.
 | ||
| Hash12 Function |
 |
| First Hash - Weird patterns on the left side |
 |
| Second Hash - Slightly better distribution |
 |
| Treshold |
Now having that I could fade out the drops. I basically took Time, multiplied it with a Scalar Parameter to control the fade out speed and the put that through a Frac, again to loop between 0 and 1. I can then use the result of that and multiply it with the drop shapes to make them appear and fade out.
Obviously this still has a long way to go, so the next thing I needed to do was offsetting the drops, so that they are not all in the center. I can use the random numbers, but need to find a way to get them in the -.5 to -5 range for both X and Y direction. I had the idea of using sine and cosine to accomplish that and getting different values for X and Y. Combining that with a change every them the time frac loop starts again makes the drops look a lot more organic.
The way that works is taking the time offset by the random value and putting that through a floor, so the value changes at the same time as the drop appears. I then multiply that time value with the original random number, feed that into a sine and a cosine node and then append them. However this is still in the -1 to 1 range and it has to be in the (-.5 + drop radius) to (.5 - drop radius) range, so I multiply it by .5 - drop radius. This ensures the drop is alwas fully within the square.
 |
| Random offset value |
 | |
| Offset with slightly bigger drop radius |
The way that works is comparing the random value with the threshold value. If it's below return 1, else return 0. I then multiply the mask by that output to mask out the drops that are not supposed to be drawn.
However a big problem is, that the time offsets are still in the range 0 - threshold, which causes some weird pauses, see the beginning of the following video. The solution to that is remapping that offset range to 0 - 1. Here is the graph and the video showing the result of adding that threshold.
I am pretty happy with the outcome so far, however the drops still look way to regular, so I needed to add some distortion to them. I decided to use a texture for that and for testing turned some perlin noise into a normal map. Same as changing the drop position I offset the normal texture every loop, which might not be necessary, but might help with some more variation.
The last thing I did was creating a normal map, using the distorted UVs, which ended up looking like this. The Normal Map of the drops can later be used to create the illusion of refraction, by distorting for example the underlying Albedo Map, etc.
 |
| Normal Map |
 | |
| Graph |
No comments:
Post a Comment