Friday 29 May 2020

Final Major Project - Post Mortem

And it is over... 5 months of continuously working on FMP are over. I still can't believe, that Litha and I got it to the point it is at now and it didn't collapse into a massive pile of mess.
It definitely was a time of ups, downs and many challenges, but in the end we pulled through. So the final thing for me to do is to write a Post Mortem.


.


0 - Info regarding Hand In

Before I get to the post mortem part I wanted to mention a few things regarding the Hand in.
The Houdini file might be broken. I tried opening it at home with a newer version of Houdini than in labs and the building generator wasn't working anymore. I couldn't make any changes, since Houdini consistantly crashed on my PC after about a minute of using it.
I also included the HDA (Houdini Digital Asset), which might still be working, when added to a new Houdini file.
Also Litha had to upload the Unreal Project files for me, since my internet connection couldn't handle it.

1 - Building Generator

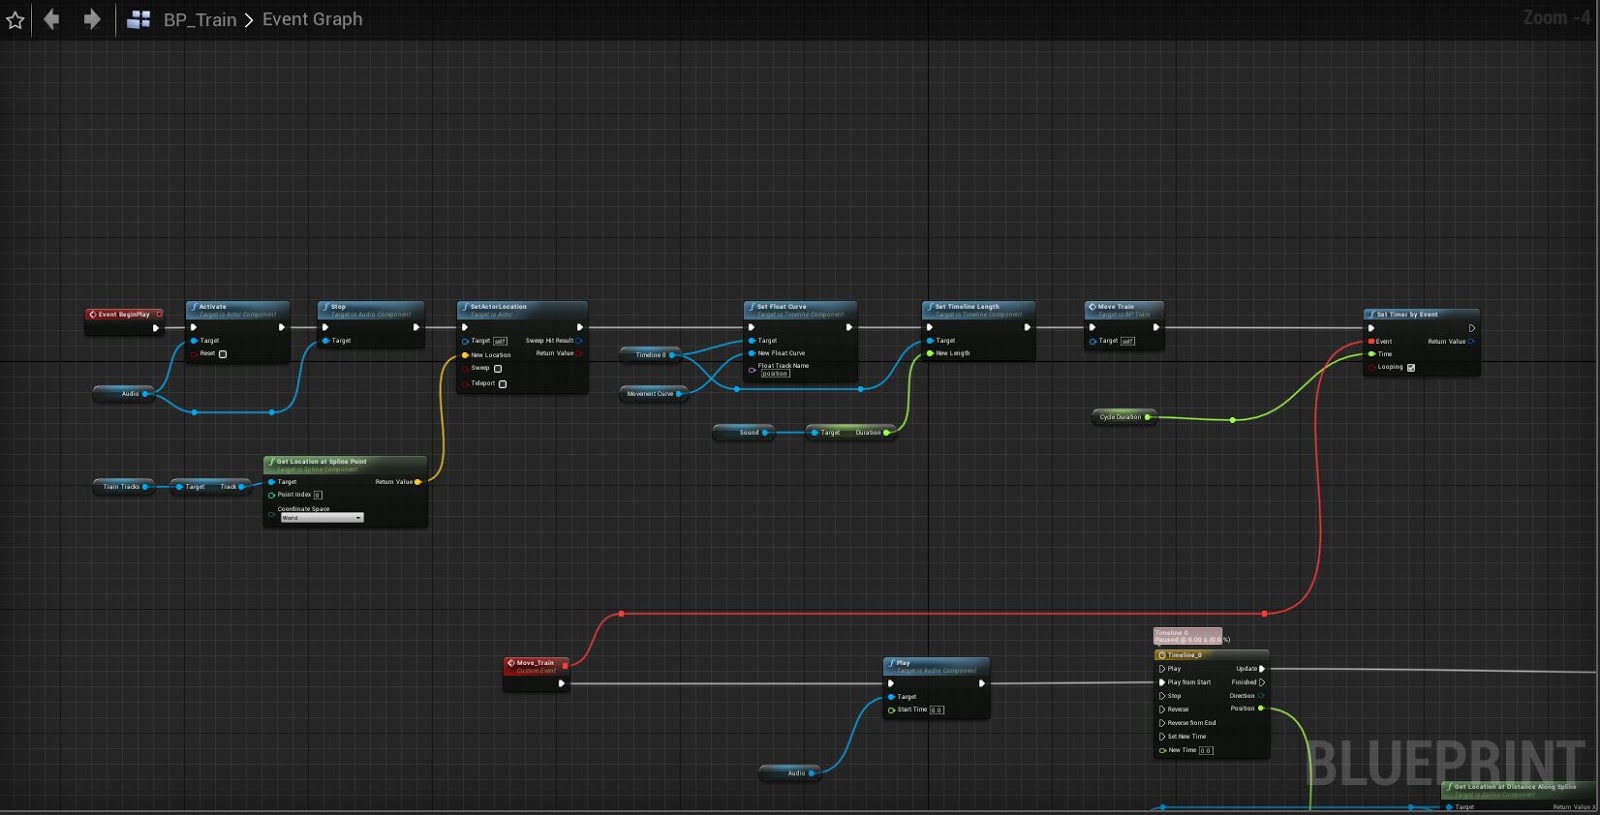
The building generator is definitely the part of the project, that I spent the most time with and which was more challenging than everything else.  I was really worried about it before starting FMP, because somehow trying to learn a software, I had only touched once before, during the most important project of year 3 (and my degree) and trying to make a tool, that needed to work in Houdini and Unreal seemed pretty daunting. Also should I fail here it'd make our project a lot more tedious, having to potentially hand place the modular kit pieces, etc. Overall it was a process of trying what works and seeing what sticks.
Fortunately, I somehow pulled it off, however in retrospect there are loads of areas, that could be improved. These became very apparent once we brought the tool into UE4 and Litha started using it. Some of them where adressed before labs shut down, but some I had to leave some due to not being able to use Houdini on my home PC. Also it probably was okay, since there was plenty more to do for the project and the tool did what it was supposed to - help construct the buildings.
The first problem we were having was, that the spline point snapping in UE4 is not as precise as in Houdini, which made it more fiddly to achieve the 45 and 90° corners. To fix that I added the option to use coordinates as an input to define the shape. However that needs to be done in Houdini, so you can't see how the building fits in with the rest of the scene, not quite ideal.
Now I'd probably rather add the option to have a mesh as the shape-defining input. That way you could use the blockout meshes and already get the right proportions and maybe even further information, like building height, from which number of  floors, etc. could be calculated.
We also had some issues when converting the HDA (Houdini Digital Asset) buildings into Blueprints. I am still not sure how to handle those, because I found the Houdini Engine Documentation to be quite short, so sometimes I couldn't find solutions or maybe certain features aren't implemented, yet.
One issue was, that every time you create a Blueprint from a HDA it creates a new set of the meshes used, unless you are using the exact same asset in the scene to create the buildings one after the other. That way you can't see the entire scene transform at once and make changes based on that. So Litha used an HDA asset for each building, so we ended up with a lot of buildings all using different meshes, something we didn't want. Since we only transformed the buildings into blueprints the day we had to leave labs I didn't have a chance to look for a fix. I manually had to go through all building BPs and change the meshes, which is less than ideal. I am still wondering if there is a way to use a reference for the meshes, similar to what I did with the materials, so that the tool can look for the meshes in Unreal, based on their name, or something along those lines.
Overall I am happy I managed to pull off what I set out to do with this tool, however if I had to redo it I'd definitely like to adress the mentioned issues and also try to rely less of VEX and instead more on Houdini's nodes. I bet that'd make later changes a lot easier, instead of digging through a pile of code. But in the end the major factor here was my lack of experience with Houdini and for a first time project of that scale and stackes I am glad it turned out the way it did.

2 - Shaders

My work on shaders can be separated into two categories: Master Materials intended to be instanced and used across the scene, e.g. for Triplanar-mapped, Decal and other Materials and unique shaders, e.g. clouds, rain, etc.
For the first category I constructed the shaders in a way Litha and I agreed upon beforehand, because she'd be the one mainly using them for all her assets. After finishing the initial version I'd later change and add to the shaders depending on her requests. That way she could focus on her work even though she is well capable of doing a lot of shader work herself. The Master Materials were build in a way, that textures could be reused as much as possible and changed based on a multitude of parameters.
The second category of shaders was a lot more fun and I needed to be a bit more creative with them. I used those to dive into some areas I hadn't worked with before. The rain material functions were my first attempt at creating visual effects using maths and a had a blast doing it. I am pretty happy with how they turned out. Creating these effect that way might not have been the most efficient/cheap, but a great learning experience and way of challenging myself.
The volumetric cloud shader was something I wanted to do for quite a while and but at the same time quite risky. I hadn't done anything like it, so again chances were high it wouldn't work. In my first blog post about the clouds I mentioned some other potential approaches to making the clouds, however none of them seemed as interesting/fitting for our scene.
HLSL was the second scripting language next to VEX I had to pick up during FMP from scratch (not counting Python since I had a bit of prior experience). Fortunately they are all pretty similar.
I am overall pretty happy with how the clouds turned out. They added some depth to the sky and worked nicely with the higher buildings in the distance. In the future I would like to expand its usability, at the moment it only works for the dense, high coverage clouds needed for our scene, whereas single separate clouds don't look good. This isn't a problem for our scene, but still something I'd like to work out. One area that I am not so happy with is the lighting of the clouds. It only looks somewhat decent from far away and only one angle. That is due to the simplifications I had to make to keep framerate at a decent rate, but mostly the lack of time necessary for me to properly understand and implement the methods described in some of the papers I used as reference.
At the end we had clouds in the scene and I am proud that I figured out raymarching. I simply would have liked/needed more time to make them better.

3 - The Rest

Especially towards the end of the project things became a bit hectic and I was jumping between tasks, fixing shaders, modelling/texturing the train, making the blueprints, rain, sounds, etc., so quality suffered a bit in some areas.
Overall Litha and I achieved what we set out to do. We recreated our chosen concept, adding our own interpretation. FMP definitely wasn't just another project, it had many challenges involved and was a great opportunity to learn a few new things here and there.
I would have liked to spend a bit more time towards the end, polishing some details and making some things feel a bit more finished, but at the same time that is always the case. There is always one more thing to do/add/improve.

I'd like to thank Litha for working with me on this project, even though a year ago we both agreed, that we'd never want to do a group FMP. Turns out things can change pretty quickly.
Also thanks to Mike Pickton for giving me invaluable feedback throughout the project regarding the building generator and some things to consider for the entire scene.
And lastly thanks to all my tutors for supporting us throughout the three years of university and especially FMP.

It was an awesome time. Thanks for reading my blog.

Wednesday 27 May 2020

Moving Vehicles, Sound and other stuff

Something that was mentioned pretty early on in the feedback session, which we kept pushing back as a stretch goal was having (moving) vehicles in our scene. 

1 - Train

To keep things simple I decided to have the vehicle move along splines at repeating intervalls. Since Litha was busy modelling a car and other vehicles I jumped in to make a very quick train. I kept it simple, since it is up on the bridge and passes by pretty quickly.
In terms of concept I tried to stick to the original train in the concept, but since it is pretty dark I looked at some other 1950's american trains as reference.


Moodboard
I then decided to make a front/rear and a middle cart, which also shared some textures. The tri counts are around 7.5k and 5k and I used 2 1k texture sheets.


In Unreal I made a Blueprint for the tracks, containing a spline, nothing too exiting. I only added an option to toggle between a closed and open spline loop.
The train got a bit more interesting. As I said the movement was defined by using a timeline to interpolate between start and end point location of the spline.To repeat this event I used the Set Timer By Event node instead of Event Tick to prevent unnecessary operations.

BP_Train Event Graph


The train itself is constructed in the construction script by having a variable for number of carts. Based on their dimensions they then get placed. This simple version only works for a straight track. For curves I'd have to update their rotation and location differently. I also made sure the Audio Component is located roughly in the middle of the train so that the sound distance is more consistant.


For the train I looked for some free sound samples and found this short one, downloaded from the following link: http://soundbible.com/1618-Freight-Train.html.
I had to make sure all sound files were in 16-bit integer .wav format.
Implementing it gave me some headaches. For some reason the sound was playing very inconsistenly and I couldn't figure out, what was causing it. Only a bit later, whilst trying to play the sound without custom attenuation settings, what was causing it. Sound works a bit like geometry in engine, if it isn't within a radius the player can hear it in (equivalent to if an object is of screen an gets culled), the sound simply doesn't play. I used attenuation settings to give the sound a spatial effect.
Fortunately I found a tickbox in the sound file settings called 'Play when silent', so even if I give the command to play the sound when the train is too far away for the sound to be heard initially, it then plays whilst the train is driving by.


2 - Zeppelins

The Zeppelin Blueprint is quite similar to the Train, however it also updates the rotation and I added the option to reverse the movement direction.


3 - Ambient Sounds

As it turned out I also got to get my hands on a bit of audio editing for this project. We had a hard time finding one audio track for some ambient city sounds, that we liked, so in the end I  just downloaded a few. I cut, mixed and looped these samples using the software Audacity:

https://freesound.org/people/vonfleisch/sounds/270881/
https://freesound.org/people/keng-wai-chane-chick-te/sounds/448378/
https://freesound.org/people/inchadney/sounds/173154/
http://soundbible.com/588-Motorcycle-Pass-By.html
https://freesound.org/people/lex1975/sounds/114472/

Mixing Tracks

Looping

4 - Misc

 On the side I also worked on a few other things. I made a splash screen for our project file, which looks like this, keeping in style with our scene. We knew, that this doesn't really matter, but it gives the project a bit of a personal touch, which is kinda nice.

Splash Screen
 Since we didn't have anything interactive in our scene, yet, I added the option to pick up some of the newspapers from the floor. This was a very last minute addition, so I had to keep it quite simple and use some tricks. We also wanted to keep UI to a minimum, since we were worried it'd distract from the scene, so I only added a small Icon (sprite) to the object BP.


The object has a capsule collision and on overlap the icon visibility is set to true/false.


On the First Person BP I handle the picking up. Theoretically you don't pick up the object, the First Person BP reads the mesh, material and some other things from the object BP and based on that sets a static mesh, that is attached to the camera. Also movement gets disabled during picking up the object.


Monday 25 May 2020

Rain VFX

One of the last things on my To-Do list was adding Rain VFX to the scene. It was something I had done before during my placement year, so I quickly created a Particle System for testing purposes.

I decided to only have a small area of rain right in front of the player, instead of trying to cover the entire playable area. That way I wouldn't have to worry about having to spawn loads of particles or worry about the particle system being culled.
When testing I found out, that the spawn location of the particles didn't updated quick enough, when the player was moving. This resulted in being able to walk "through" the rain, which of course broke the illusion of wide rain coverage.
To avoid that I probably could have increased the spawn area, but I wanted to see, if I could solve this problem without having to use a particle system at all. I ended up creating the falling rain drops purely in a shader.

I went into 3DS Max and created a stack of quads, each of which would be a rain drop. The problem I was facing now was, that I had to somehow be able to control them individually. I solved that by assigning them different grayscale vertex colors, which I could use as offset values. To do that I used the 'Data Channel' Modifier with the following settings.

Data Channel Modifier Settings

Vertex Color Values

I didn't collape that modifier before exporting the mesh and once I had brought it into Unreal I can access the stored vertex colors through the Vertex Color Node.

In Unreal I used the mesh as the preview mesh in the rain material, so I could immediately see how the shader affected the mesh. I had two main problems to solve. 1) XY Distribution and 2) Z - Position.
I started figuring out the XY distribution and got briefly distracted with making some random shapes, just using a bit of maths.

Just because I can

Only the first one was really relevant, as I wanted to distribute the cards in a circular area. To get the circle I used the sine and cosine of the vertex color values as X and Y Coordinates multiplied by a radius value. But to avoid them being sorted like in the picture above, I multiplied the vertex color values by a large number, which resulted in this.

Circular Distribution
Now I obviously wanted to also have the inside of the circle filled, so I needed another value for each of the cards to controll the offset from the center. Putting them through some other nodes, including the hash function I had previously used for the other rain shaders and multiplying the resulting values times the XY Offset I got the desired distribution.

Fixed Distribution
Before moving on to dealing with the movement of the drops I wanted to make sure that the cards are always facing in the direction of the Camera on the X and Y Axis, which I achieved with the following setup.

Billboarding
I'll try and explains the maths behind it, as far as I have understood it.
The first step is calculating the normalized vector between Camera Position and Object Position. In my case I need to add the offset of the individual cards, to get a vector for each of them. I then somehow need to get an angle, by which they need to be rotated to face the camera.
When taking the Y and X position of a vector and putting that through the atan2 function, it returns the angle between the vector and the +X axis (1, 0). This angle α is in the range -π < α π, so it has to be divided by 2π to bring it to the range 0 < α < 1, which is the required input for the RotateAboutAxis Node.
When using the angle right now, the cards rotate in a way that the faces are aligned along the Camera Position - Object Position Vector, since the original orientation of the faces is along the +Y-Axis. It looks like this:

Wrong rotation
Fortunately this can be easily fixed, by adding 90° to the input angle, so 0.25 in Unreal's units. After doing that, the cards are facing in the right direction.
If the initial orientation of the cards is along the +X-Axis, adding 0.25 isn't necessary.
The other inputs for the RotateAboutAxis node are (0,0,1) for the NormalizedRotationAxis, since we want the cards to only rotate aroung the Z-Axis, Object Position for Pivot Point and AbsoluteWorldPosition for Position. The output of this gets added to the offset calculated before and connected to the World Position Offset Node.
I made a sketch, showing all that (face orientation being +X). I hope it makes things a bit more clear.


And here is a comparison of the material without and with the camera- facing rotation.


Funnily enough that math, using atan2, is very similar to how I calculated the rotation of the modular kit pieces in the Building Generator to align with the splines.

Next I moved on to sorting the falling movement. This was pretty straight forward. I know, that I want the cards to move from a higher to a lower position on the Z-Axis. Once they have reached the lowest defined position they should immediately go back to the highest position, looping infinitely.
I want the pivot point to be directly in front of the camera, so the rain need to move both above and below the pivot point.
I use time put through a frac node to interpolate between those two positions. Additionally I use the vertex color again to add offset to the time, so that the drops are all at different Z positions.


This is basically the interesting part done. I added some nodes to apply a drop texture and used a distorted cubemap our scene for the color input. The material is Translucent, Unlit and because of the implemented rotation Single Sided.

As mentioned before I added the Rain Card Mesh with this material applied to the First Person Character BP and attached it to the Camera, so that the pivot point is always in view and the rain doesn't get culled. Also an important note: The rotation of the rain mesh needs to be set to Absolute Rotation, so that it keeps the relative position to the camera, but the rotation stays at (0, 0, 0).

First Person BP Setup

To at least have touched Particle Systems once during this project I added some small splashes on the ground. The location update delay isn't as noticable as with the falling rain, so it works in this case.


 Last but not least rain isn't much of rain without a bit of sound. I went online and looked for some free sound samples and ended up using this one: https://freesound.org/people/vdr3/sounds/393703/
I added an Audio Component to the FirstPerson BP and this is how everything looks in the level. Unfortunately I wasn't able to get a good video, because my PC has lots of trouble recording and playing the level at the same time.

Saturday 16 May 2020

Rain Shader Part 3 - Ripples

To complete all the neccessary Material Functions for the rain, I made some fully procedural ripples, which I planned to use for the puddles on the street. Since this one is very similar to the Drop Material Function I have described in Part 1, I will only go into changes, not the entire setup. I potentially could have combined those two functions, but decided that being able to control them independently was something I definitely wanted.

Exactly as with the drops I set up the UVs and use a SphereMask to draw the drops. However this time I change the radius over time, again using the hash function to generate a random offset. I also got rid of the Distortion and position offset, since I wanted to utilize the entire UV square for the ripples instead of only a part, like with the drops.

Base Setup


Having this setup, I could move on to actually making the ripples. To get the rings for the ripples I feed the result of the spheremask into a sine node and make them fade out over time.


To get multiple ripples I multiply the sine node input by a number, the higher it is, the higher the number of ripples. I again use the random value to vary this number slightly.


To make the ripple fade, whilst moving away from the center, I use the UVs to create a mask, which looks like this.

Mask
For the ripples I only really need some good normals. Initially I was a bit worried about getting normals for a ring, but then I remembered, that the sine function returns a value range from -1 to 1. When using linear interpolate with an input A = 0, B = x and Alpha = -1 you receive -B as the result. For normals, when lerping between (0, 0, 1) and some Normals (x, y, 1) with Alpha = -1, the result is (-x, -y, 1).
To make things a bit clearer here is the formula for Linear Interpolate:

L = A * (1 - Alpha) + B * Alpha

That way I get these normals. I want to point out though, that they don't align with the mask anymore. You'd have to do some further maths to fix that, but since I don't need the mask I skipped that step.


This concludes the Rain Material Functions. I will still have to include them in the Master Materials. They where a fun learning experience in the realm of procedural shaders. Here is the complete Function setup plus a close up of the new parts.

MF_Rain_Ripples


NOTE: These ended up not being visible in our level, since we decided to have relatively shallow puddles.

Tuesday 5 May 2020

Volumetric Clouds - Part 2 - Writing an Opacity Raymarcher

Quick update: A couple of days have passed since I wrote part one of the Volumetric Clouds and a few things have changed. We have decided to try and keep the clouds a bit more subtle to not distract as much from the buildings, so we will probably keep them low contrast and experiment a bit with the settings.

Clouds - Work in progress
Definitely needs tweaking

After figuring out the basics I had to dive into writing the Raymarcher, something I hadn't done before, in the Custom Node of Unreal's Material Editor. As mentioned before that meant learning HLSL from scratch. Fortunately it is very similar to C++ and the shader didn't require anything complex, so I was fine. Otherwise the time would have been way too short. Fortunately there are some great resources out there explaining the theory of raymarching. Here are some of the ones I used next to Guerilla Games Paper:

https://shaderbits.com/blog/creating-volumetric-ray-marcher (Ryan Brucks - Creating a Volumetric Ray Marcher)
https://computergraphics.stackexchange.com/questions/161/what-is-ray-marching-is-sphere-tracing-the-same-thing/163
https://www.youtube.com/watch?v=PGtv-dBi2wE (Art of Code - Raymarching for Dummies)
https://www.youtube.com/watch?v=Ff0jJyyiVyw (Art of Code - Raymarching simple Shapes)
https://www.youtube.com/watch?v=Cp5WWtMoeKg (Sebastian Lague - Coding Adventure - Raymarching)
http://www.diva-portal.org/smash/get/diva2:1223894/FULLTEXT01.pdf ( Fredrik Häggström - Real-Time Rendering of Volumetric Clouds)
http://jamie-wong.com/2016/07/15/ray-marching-signed-distance-functions/ (Jamie Wong - Raymarching and Signed Distance Functions)

Here is the full code I am going to break down, it is still subject to changes and improvements, and the Material setup in Unreal.


M_Clouds Overview


1 - Writing an Opacity Raymarcher

To sample the opacity of the volume textures a vector/ray between the camera and volume is used to define the marching direction and then the texture gets sampled whilst moving along that ray in increments. At the end the the samples get combined to get the accumulated density as seen from the camera's view.

Raymarching Visualisation

The code to do this looks something like this:

However to actually make sure, that the Raymarcher samples the points within the box containing the volume, we need to figure out  where it needs to start sampling and how far it needs to move within the box. A lot of the resources I found make use of the Ray-Box intersection Algorithm. To keep it simple I stuck with the Bounding Box being aligned to the world axis.

The following resources were really useful for understanding how the algorithm works:
https://www.youtube.com/watch?v=4h-jlOBsndU (SketchpunkLab -WebGL 2.0:046:Ray intersects Bounding Box (AABB))
https://www.scratchapixel.com/lessons/3d-basic-rendering/minimal-ray-tracer-rendering-simple-shapes/ray-box-intersection (Scratchapixel - Ray-Box Intersection)
https://developer.arm.com/docs/100140/0302/advanced-graphics-techniques/implementing-reflections-with-a-local-cubemap/ray-box-intersection-algorithm (ARM Developer - Ray-Box Intersection Algorithm)
https://medium.com/@bromanz/another-view-on-the-classic-ray-aabb-intersection-algorithm-for-bvh-traversal-41125138b525 (Roman Wiche - Another View on the Classic Ray-AABB Intersection Algorithm for BVH Traversal)

These all so a far better job at explaining how it works, than I could ever do, but I will try to give a brief overview. I have also annotated the code to hopefully make a few things a bit clearer.

So essentially the bounding box is defined by a minimum and maximum (X, Y, Z) position, which become the origin of corresponding new axis, as shown in the image below.

Bounding Box
The ray is defined by the following formula: f(t) = origin + Direction * t. The Intersection algorithm then checks where that ray intersects with the bounding axis and if the intersection is actually on the surface of the bounding box.
I further check, if part of the bounding box is occluded by something else by comparing Scene Depth to the further away intersection. Otherwise the volume is drawn on top of all other objects, without regarding depth. Here is a comparison between the Raymarcher with and without Depth Check.

Depth Check OFF vs Depth Check ON

Here is the HLSL Ray-Box Intersection Code:


The Algorithm returns both the point to start the sampling from, as well as the distance to travel within the box. I can now use the later to calculate the step size. I have visualised that step length throughout the box, which gets used by the Raymarcher, being shorter towards the thinner sections from the camera's view point.


I can now update the Raymarching code to this:

Unreal's Custom Node doesn't allow having functions, so the functions need to be put into a struct, that way they can be called.